Summary
Video Transcript
Addressing the red tint issue in ScreenFlow
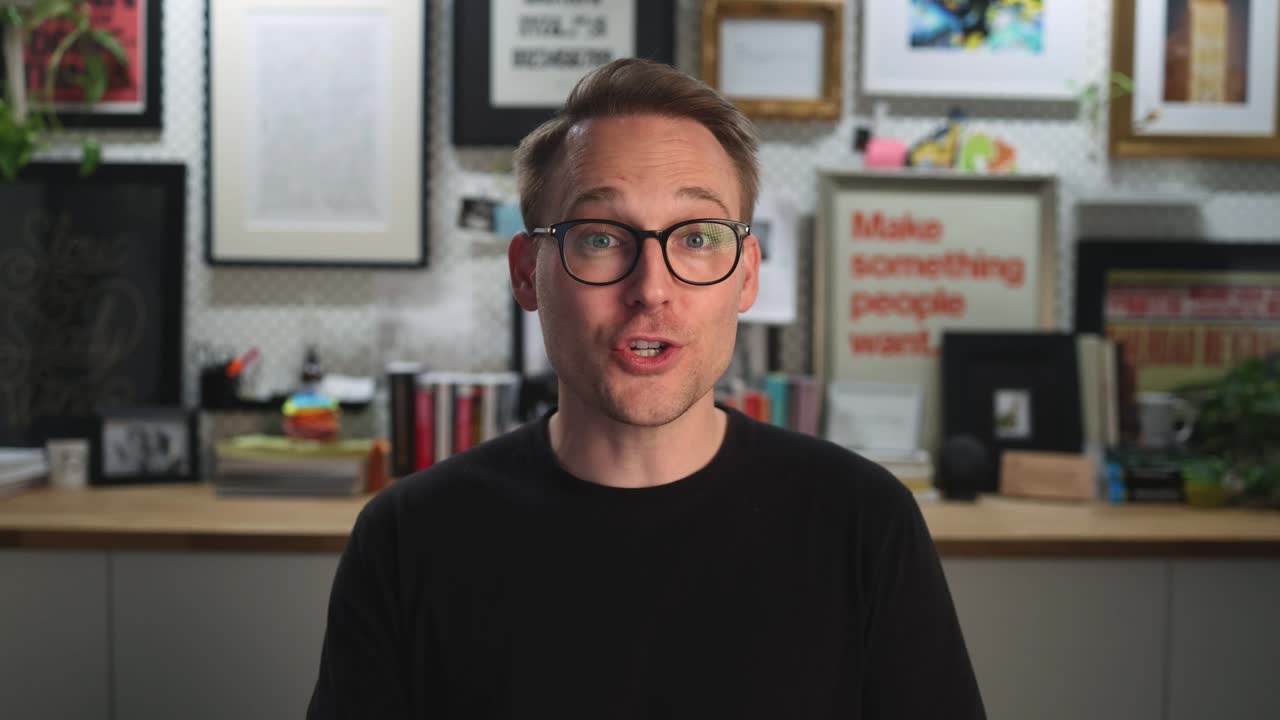
When recording using ScreenFlow, you might notice a slight reddish tint in your videos. This doesn't usually appear on platforms like Zoom or Google Meet. However, you can easily fix it. This guide will teach you a basic method to adjust the white balance using ScreenFlow's built-in tools.
Basic color correction with ScreenFlow
For simple color correction, focus on adjusting the white balance rather than diving into extensive color grading or applying LUTs. If cinematic color grading is your goal, consider using a different tool. However, for making your video appearance more natural, follow these steps:
Adjusting the white point
-
Locate the "Color Controls" in ScreenFlow. Here, you can adjust various aspects like saturation and color effects.
-
For a natural look, select "White Point Adjust." This will help in reducing the red tint, making your appearance more true to life.
-
Fine-tune the settings by clicking on the small color swatch. Adjust it until you achieve the desired appearance.
Saving your settings as a preset
After finding the right balance:
-
Save these adjustments as a preset. This way, you can consistently achieve the same look across various projects.
-
By pressing the plus button, create and save your preset. Name it something recognizable, such as "Studio Color."
Enhance with gamma adjust
For further enhancement, consider using the Gamma Adjust feature:
- It allows you to add depth and richness by tweaking the black levels.
- This can either slightly enrich the color or make it appear washed out based on your needs.
Consistent color application
Once you're happy with the preset:
-
Apply it to all video clips in your project to ensure uniformity.
-
Test the appearance by viewing it on various monitors and platforms (such as YouTube) to ensure it looks good universally.
By following these steps, you'll have a professional and cohesive look throughout your projects. Save the successful preset and apply it in future projects for consistent results.
Preset utilization for seamless video editing
Having a default preset for consistent color correction simplifies your video editing workflow. Regularly checking the result on different screens ensures your video looks great across all devices. By creating versatile presets, you can efficiently adapt to different lighting scenarios, ensuring every video accurately represents your intended visual style.
