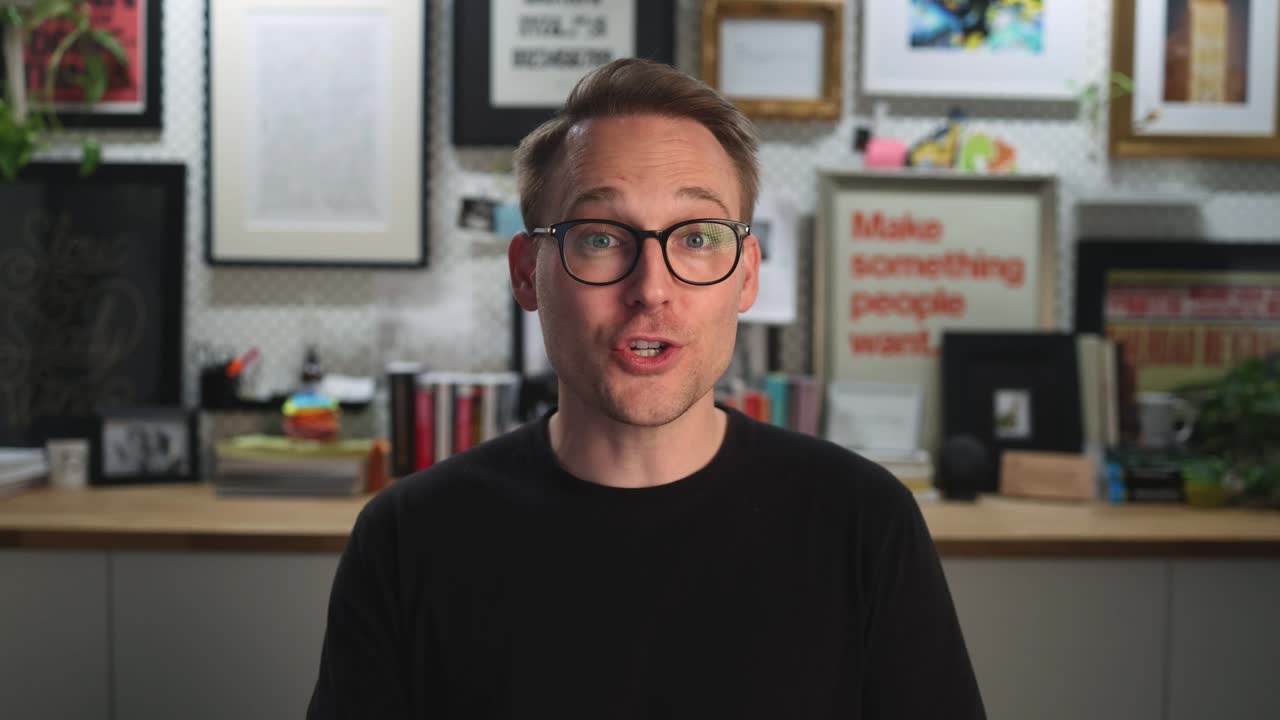
This is the first video I've made since buying screencasting.com that I'm super proud of the end result! A real camera makes a big difference 😁Andrew Stewart
Summary
Video Transcript
Streamlining your ScreenFlow workflow
In this guide, I want to share a few tips that have proven very helpful in keeping my workflow consistent when recording with ScreenFlow.
Setting up a new document with the correct preset
Before I start any recording, I always open a new document. Although it might not be entirely necessary and you could just start recording with a hotkey, I opt for creating a new document to ensure I have the 4K preset. This is crucial as it aligns with the resolution I plan to export in the end.
Recording strategy with ScreenFlow
Once the new document is open, I typically move it to my secondary monitor. Then, I hit record using a configured hotkey. For me, it's Command + Shift + 2. This initiates the recording process, and a two-second countdown is shown, which is handy since I find myself hitting record quite frequently.
Managing recordings efficiently
During recording, I'll begin by welcoming my audience, say something like "Hey everybody, welcome to the show," and then perform the necessary recording tasks. Once done, I hit Command + Shift + 2 again, which prompts an option to save the recording.
I usually add the recording directly to the timeline of my current document. This method prevents clutter since all recordings go into this "Scratch document," rather than cluttering my system with multiple ScreenFlow documents.
Ensuring optimal recording quality
This approach allows me to manage screen dimensions effectively from the start and prevents the creation of an overflow of documents. Each time a recording session ends, I add it directly to the timeline, which accumulates all my recorded chunks. I then proceed to the rough cut process to refine the final product.
Wrapping up the recording session
By consolidating all recording segments into one document, I streamline the editing process. This approach keeps everything organized and ensures that I can quickly review and edit the content, maintaining the quality of my screencast recordings throughout the session.

